
How to Create a Survey
Create online surveys quickly and easily, whether you’re conducting market research, monitoring employee engagement or gauging customer satisfaction.
Steps to Creating a Survey
Section titled “Steps to Creating a Survey”- Create and Name your Survey
- Add Questions
- Add Pages
- Apply Logic (Optional)
- Customizing your Survey Design
- Preview and Test
- Share your Survey
1. Create a Survey
Section titled “1. Create a Survey”- Open Forms in the main navigation, or use New form on Home.
- Check the workspace selected above the Forms table or in the new-form app bar. Your new form uses that workspace.
- Select New form. On What would you like to build?, choose how to start:
- Describe the survey you need and select Build with AI.
- Select Build from a document to import questions from a document.
- Select Start from scratch to create the form yourself.
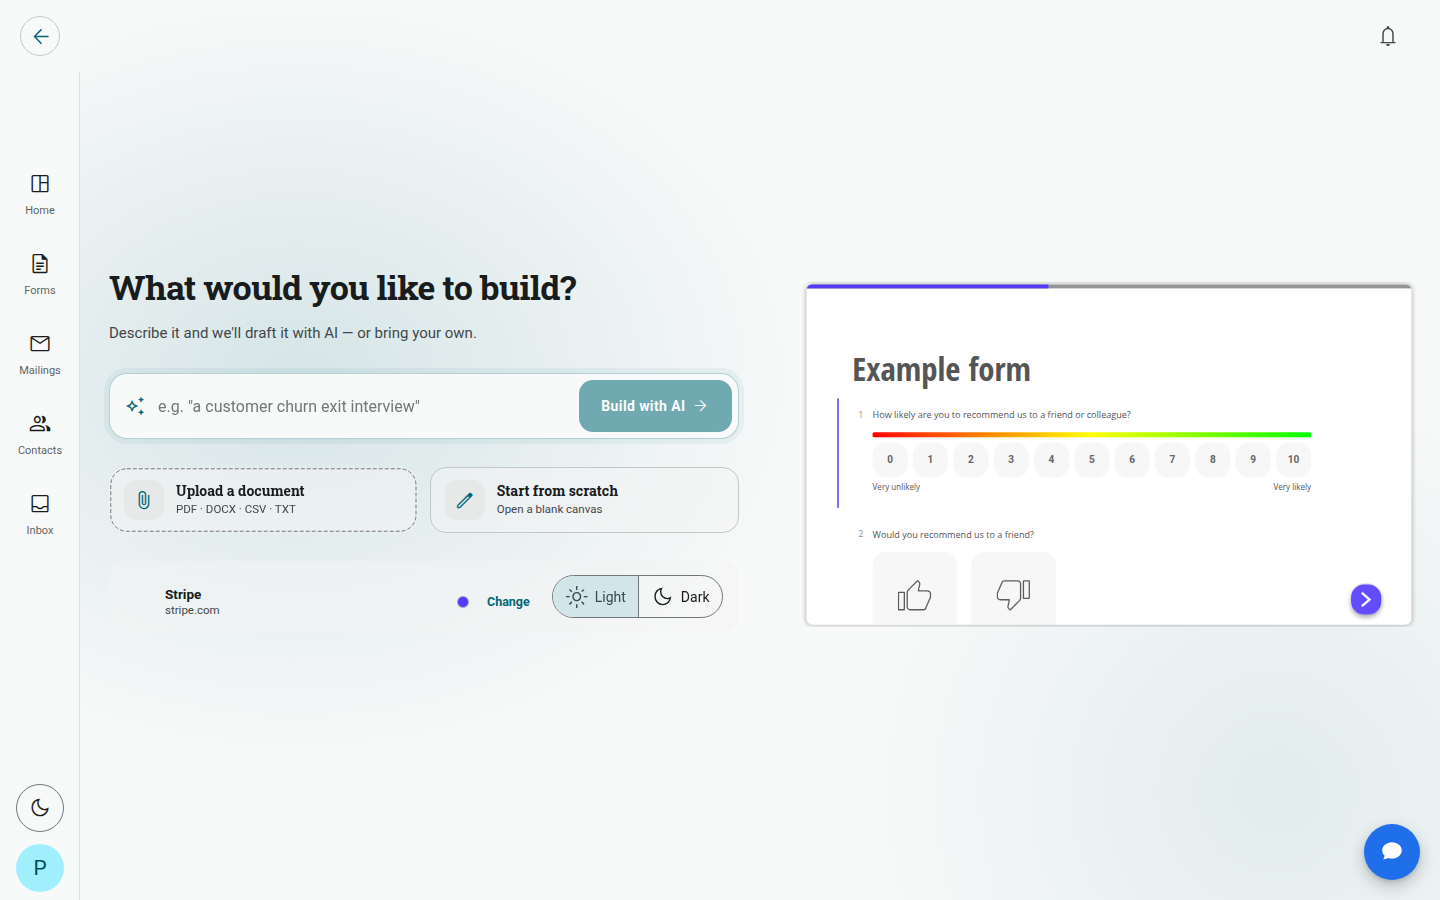
For a blank survey, choose Start from scratch, then on Set up your form:
- Rename the displayed form title using its edit control.
- Choose Survey under Form type. The ordinary setup screen offers Survey and Quiz.
- Choose One at a time or Many per page under Questions per page.
- Select Create form to open the builder.
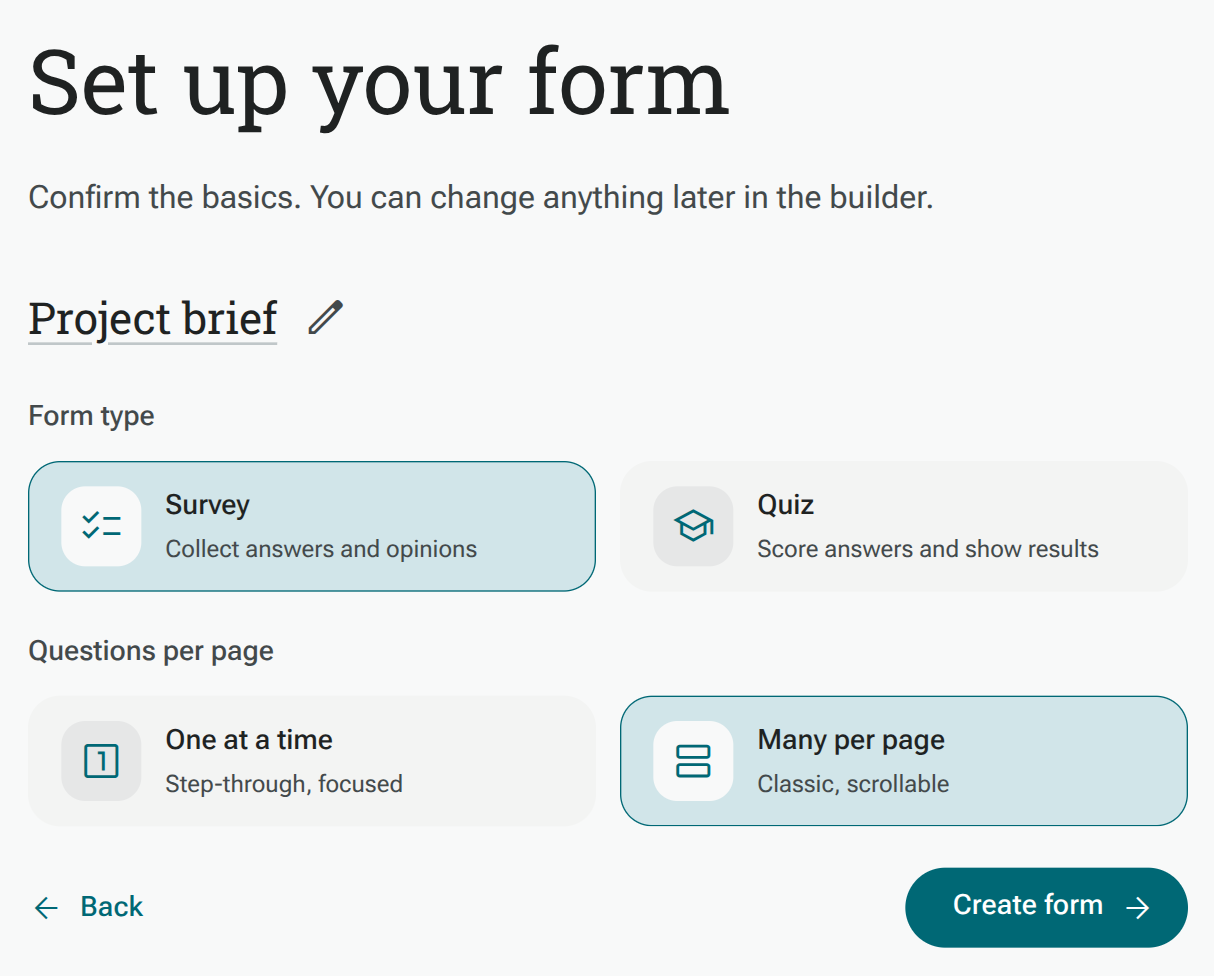
Build with AI and Build from a document plan the form and open its builder, where you review the proposed questions. They use the workspace already selected in the app bar. The separate Set up your form screen is used by Start from scratch.
Need a PDF filled in and signed?
Section titled “Need a PDF filled in and signed?”Select Get a PDF filled in and signed instead of importing questions. This keeps your PDF attached to a signing form, so answers can fill it before people review and sign. See Create a form with a document. For signing directly on a PDF, see Choose a document workflow.
2. Adding Questions and Answers
Section titled “2. Adding Questions and Answers”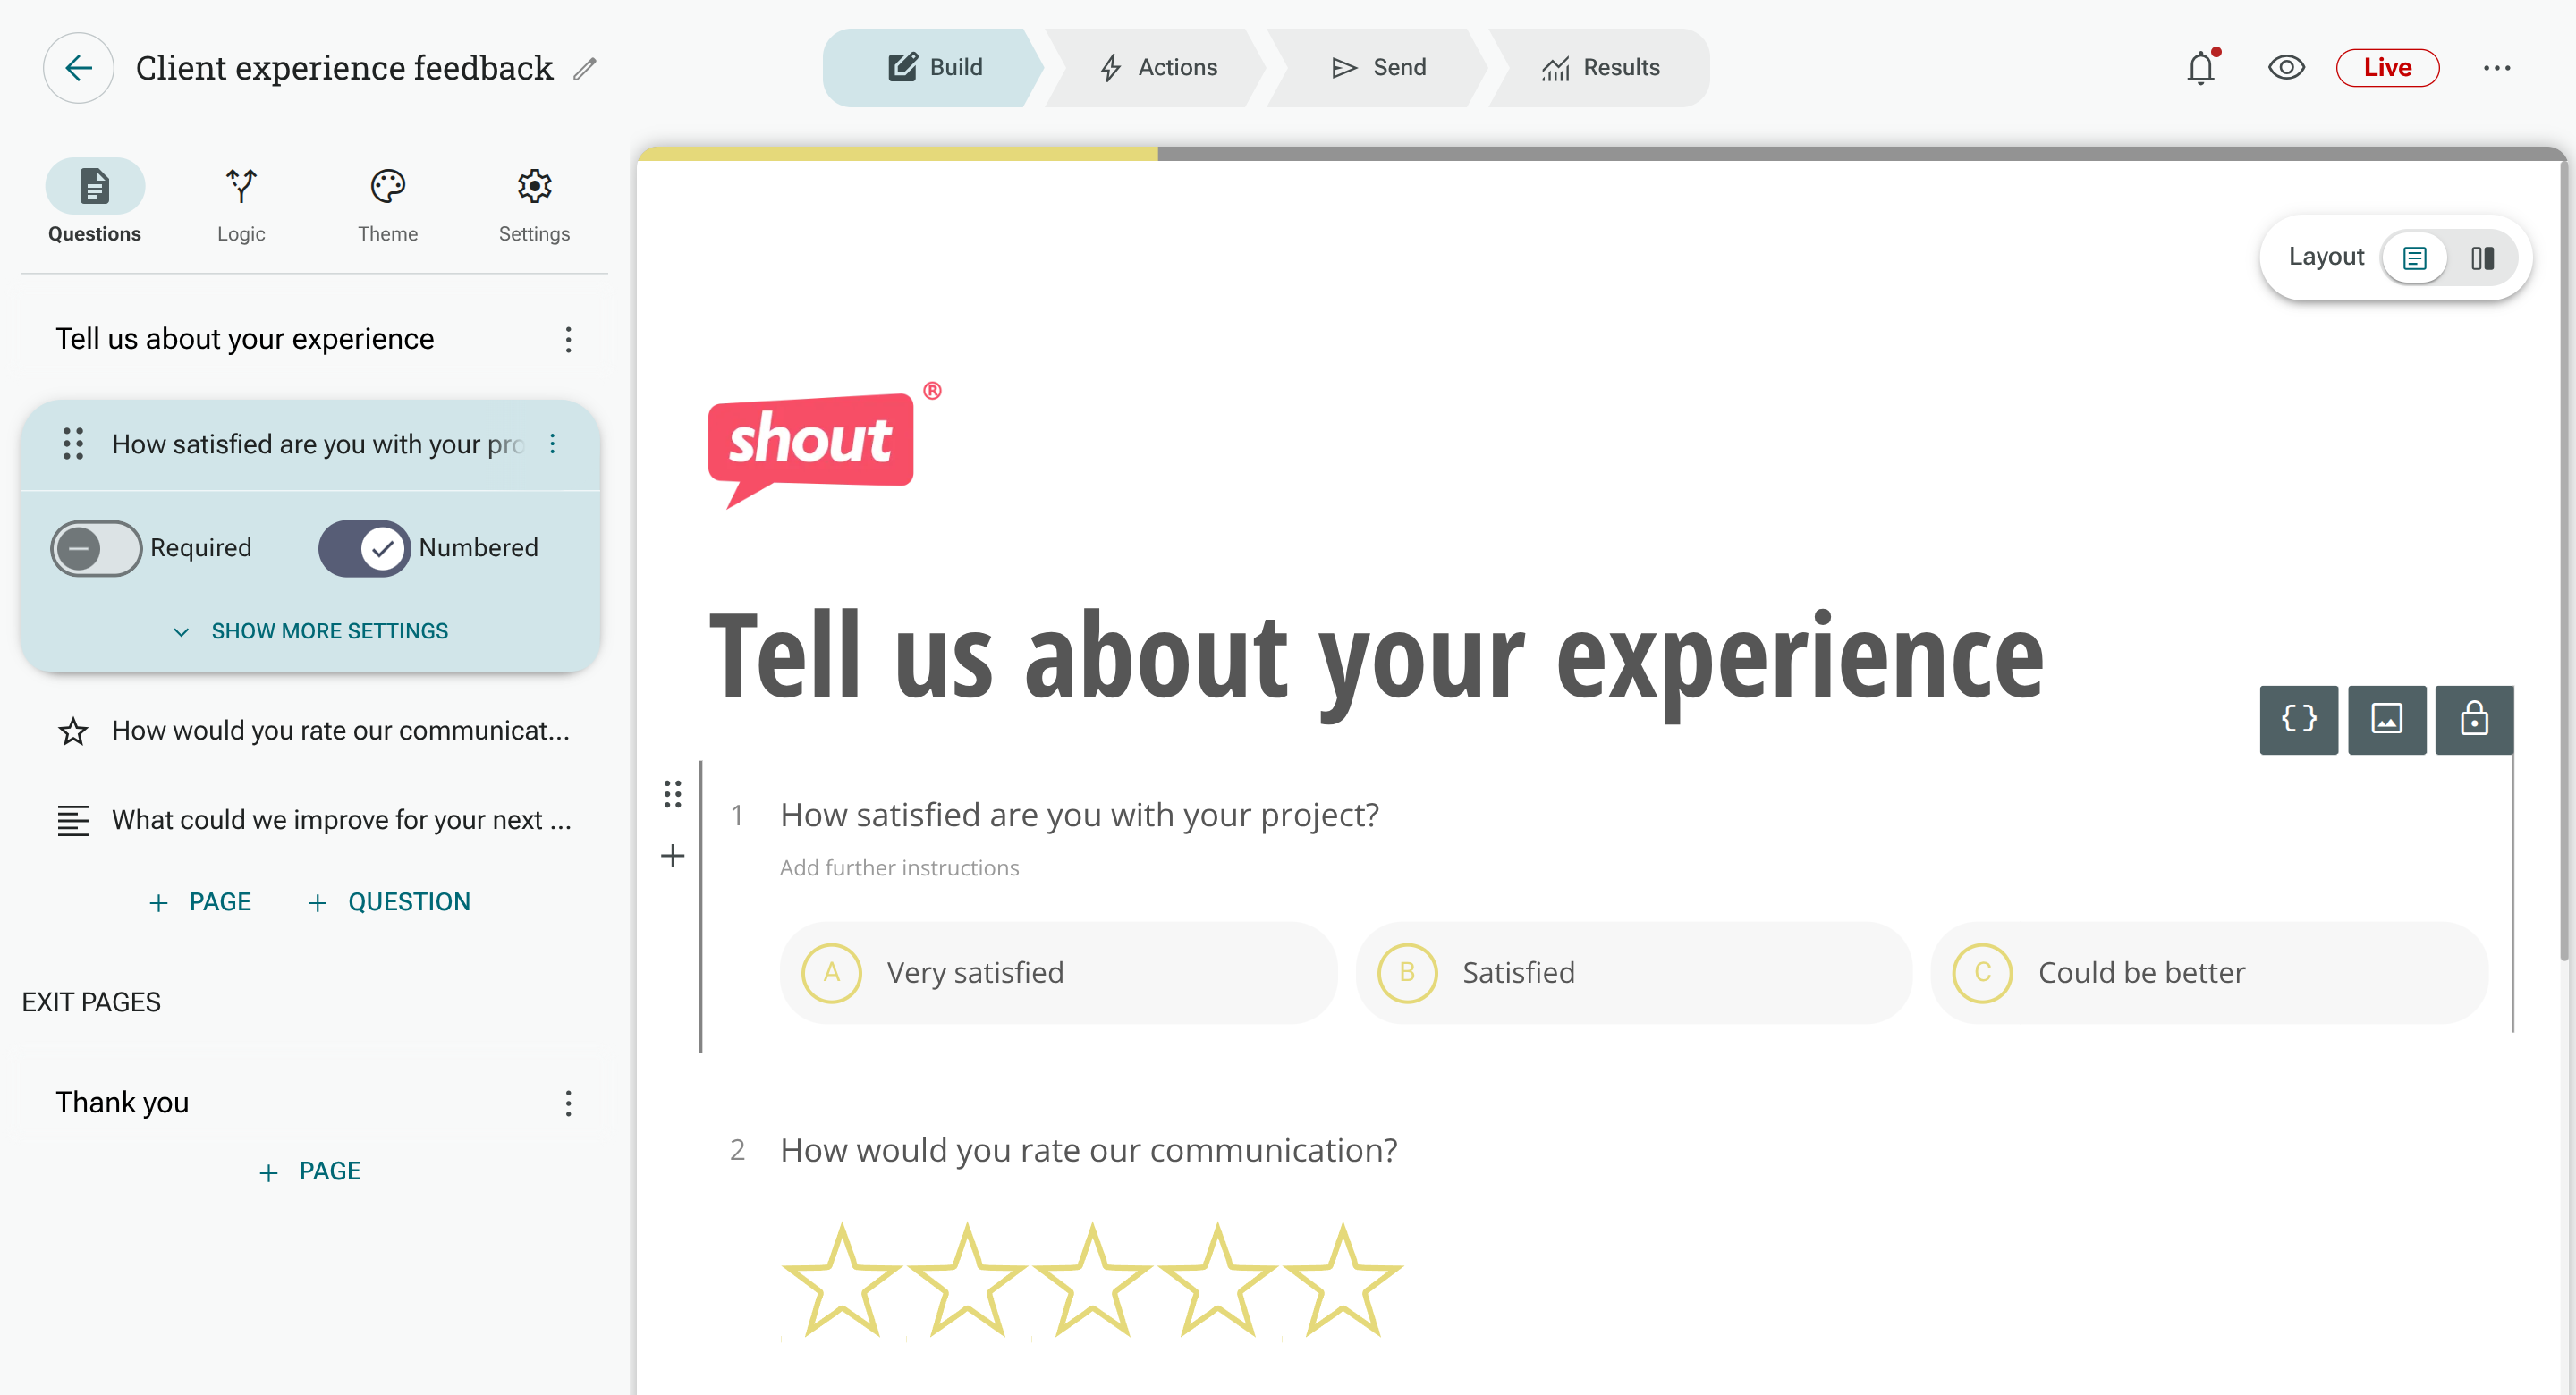
Once you’ve created your survey, you’ll be taken to the Survey Builder. You can add a title to your page by clicking and editing the title, which will be ‘Page 1’ by default.
Using AI to Draft Questions
Section titled “Using AI to Draft Questions”There’s no longer a separate ‘Question Prediction’ panel sitting above the builder. Instead, AI is built into the editor itself:
- Click into any empty text/question block and type ’@’ to open ‘Ask AI for question generation…’ inline

- Type ’/’ instead to open a quick menu of question types and content items
- Or use Build with AI / Build from a document right when you create the survey to have the whole draft generated at once
If a question’s type isn’t what you wanted, switch it using the ‘Item / Question type’ dropdown on the right of the question.
Adding Questions Manually
Section titled “Adding Questions Manually”Alternatively, you can manually add questions to your survey via the Questions tab in the left sidebar.
Simply click ’+ Question’ below the page you’d like to add your new question to, to reveal the Question Library:
Then click any question type in the library to add it into your survey. Hovering an option shows a live preview of what it looks like.
Question Types
Section titled “Question Types”Here’s a list of the question types available for use in surveys, grouped as they appear in the Question Library:
- Multiple Choice (Single Select)
- Multiple Choice (Multi Select)
- Binary Yes/No
- Opinion Scale
- Star Rating
- Drop Down List
- Order Ranking
- Opinion Slider and Numeric Slider (formerly the single Slider type, now split in two)
- Comments/ Essay Box
- Text Box (Single)
- Text Box (Multiple)
- Number / Money
- Date
- Date Range
- Payment
- Matrix Question
- Multi Factor Scale
- Multi-Factor Opinion Slider (formerly Multi Factor Slider)
- Picture Choice (single and multi-select are now one combined Picture Choice type)
- Picture Comments
- Net Promoter Score®
- Consent, eSignature, External Datasource (hidden questions), Restart Form Button, and File Upload — newer ‘Special’ category types
- AB Text, AB Image, and AB Video — for split-testing question variants
Contact Details
Section titled “Contact Details”You’ll have access to a set of fields with custom settings to collect respondent information, and which can prefill from or update the contact record. Such as:
- Email address
- Full Name
- Telephone number
- Language
- Address Lookup (using Zipcode or Postcode - US/ UK only)
- Compact Contact Form (formerly Contact Form)
More on Contact Details.
Content and Media
Section titled “Content and Media”Add content other than questions into your survey to provide additional information for respondents. These now live under ‘Content Items’ at the top of the Question Library:
- Heading / Greeting
- Paragraph text
- Images
- Videos (linked from YouTube or Vimeo)
List of Presentational Items.
3. Add and Manage Pages
Section titled “3. Add and Manage Pages”If your survey is becoming too long to fit on a single page, you can insert additional pages to break up your project.
This will not only make it easier for you to visualize and edit your project, but also give respondents a sense of progress and achievement in completing your survey.
Pages can also be used for specific purposes; such as in creating disqualification pages or consent forms.
To create a new page:
- Open the Questions tab in the left sidebar
- Click ’+ Page’, below the last item on an existing page
- Choose to add a Question Page or an Exit Page
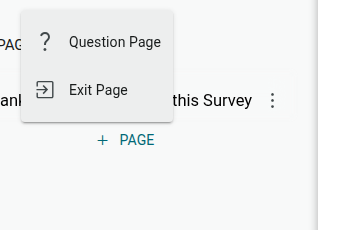
- Question Pages: Where all your questions and form elements are placed.
- Exit Pages: These are the final pages respondents will see before they leave your project. They can be used to thank participants, or even to direct them to a site upon completion.
4. Applying Logic
Section titled “4. Applying Logic”Use Logic to create custom paths for respondents moving through your survey.
There are two types of navigation Logic you can use, Page Logic and Question Logic. If you want to show or hide questions or pages without sending respondents to a different page, use Conditional Display.
Question Logic
Section titled “Question Logic”Question Logic: This logic determines where respondents are sent to once they click ‘Next Page’. By default, respondents will be sent to the next page chronologically this Logic allows you to change that.
Page Logic
Section titled “Page Logic”Page Logic: This allows you to customize the path respondents take through your survey based on answer choices respondents make. Some examples of using Page Logic include:
A few examples for using Logic are:
- Collect consent: Send respondents who don’t give consent straight to an exit page.
- Disqualify respondents: Send respondents who don’t match your target audience to an exit page.
- Personalized Question Paths: Send respondents to different survey pages based on their answers.
5. Customizing Survey Design
Section titled “5. Customizing Survey Design”Before you distribute your survey, you may want to customize the visual design of your project.
To change your survey theme, click the Theme icon in the left sidebar (between Form and Settings). This also holds the Questions per page (One/Many) setting you chose at creation, if you want to change it later.
Theme Colors and Fonts
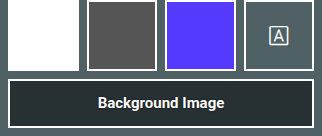
Section titled “Theme Colors and Fonts”Colors and fonts are now set together, via a compact row of controls under your selected theme: swatches for Background Color, Text Color, and Question Highlight Color, an ‘A’ icon for Font Set, and a ‘Background Image’ button.
Add a Logo
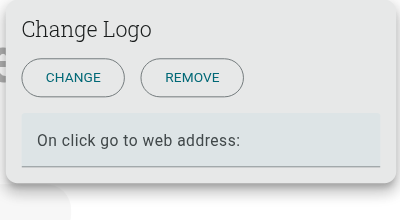
Section titled “Add a Logo”You can also add a logo to your survey, via the ‘Add logo’ button above the page title in the canvas.
6. Previewing/ Testing
Section titled “6. Previewing/ Testing”Clicking the eye (Preview) icon, next to Publish in the top bar, will allow you to test your survey without the response being saved in your results.
How to Preview/ Test Projects.
7. Share your Survey
Section titled “7. Share your Survey”Click ‘Send’ in the top bar to see the distribution methods available, listed in the left sidebar:
- Get a link (URL) to share your survey
- Share to social sites, or Target a Survey Audience (Purchasing Survey Responses)
- QR Code
- Pop-ups and slideouts for your website
- Embed your Project on your Website inline with your content
- Email Invitations
- Webhooks
- JavaScript API
More Guides and Tips
Section titled “More Guides and Tips”Below you’ll find a list of other useful articles to help you get started:
- How to Re-name your Project
- Close a Survey to Responses
- How to Re-Activate a Project
- How to Copy a Project
- Text Piping and Passing Data In
- How to Export your Data
- How to Print your Survey
- Labelling (Tagging) your Project
- Can you Edit Live Projects?
- How to Delete a Survey
AI availability is controlled in Account › AI features. Account owners and administrators can manage AI assistance and response-data analysis separately.