
Image Content Block
Use the image content block to add images to your emails.
In this article, we’ll cover how to insert images and the different settings available for these content blocks.
Insert an Image content block
Section titled “Insert an Image content block”To insert an Image content block to your email campaign, follow these steps:
-
Click the Content tab in the left sidebar
-
Left-click and hold the Image block and drag it into your email
-
When you see a bold blue line, release the left mouse button to drop the block into place
To place your image in the header of your email, drop the Image block at the very top of the email
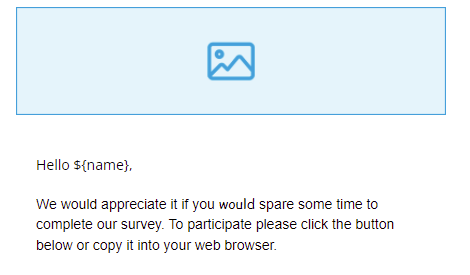
-
Click the Image Block you’ve placed into your email to open the options
-
Click upload image or drag and drop an image in from your file manager
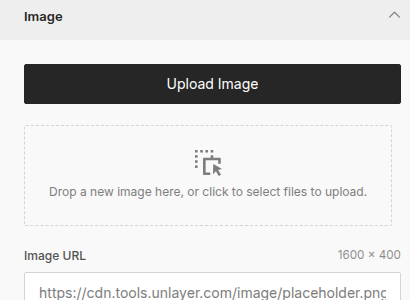
-
Your image will then be displayed
How to resize your image
Section titled “How to resize your image”To ensure the best possible image quality, we’d recommend that you upload it in the exact size you’d like it to be displayed.
However, you can resize images in the email builder:
- Click the image
- Switch the Width toggle from Auto On to Auto Off in the image block options
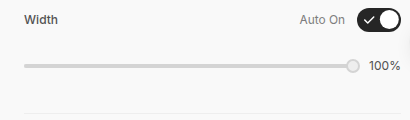
- This will give you access to a slider that changes the width of the image content block
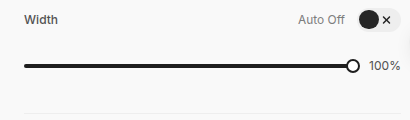
- Use the slider to increase and decrease the size of your image.
How to add a link to your image
Section titled “How to add a link to your image”To add a link to your image, e.g. to a landing page, all you need to do is:
- Click the image
- Navigate to the Action section in the image options slideout on the left
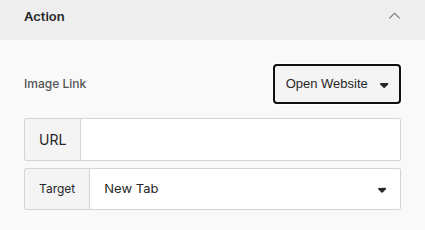
- Use the Image Link dropdown to choose what happens on click — Open Website (the default), Send Email, or Call Phone Number
- For Open Website, enter a URL below and use the Target dropdown to choose whether your link opens in the same tab or a new tab. Send Email and Call Phone Number reveal their own fields (Mail To/Subject/Body, or Phone) the same way they do on a Button block.
Align your image
Section titled “Align your image”- Click the image
- In the Image section of the image options slideout, use the Align buttons to align the image left, center, right, or justify within the block
Add alt text to your image
Section titled “Add alt text to your image”- Click the image
- Navigate to the Image section of the image options slideout on the left
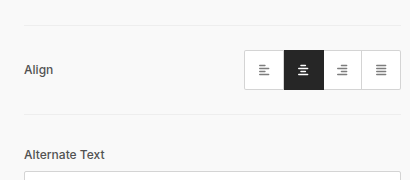
- Type your image alt text into the Alternate Text field
Other image block settings
Section titled “Other image block settings”You have two other settings available for image content blocks:
- Container padding
- Responsive design
Edit image padding
Section titled “Edit image padding”You can add padding to images, which reduces the amount of space an image takes up in the block. To edit the padding for a block:
- Click the Image block
- Scroll to the General section in the image block options slideout
- Use the + and - icons to increase or decrease the container padding
To edit the padding of individual sides of the content block, enable the More Options button.
This will allow you to add padding to the Top, Right, Left, and Bottom sides of the block.
Hide images on desktops and mobiles
Section titled “Hide images on desktops and mobiles”You can also show/ hide image blocks in emails depending on the device being used by your contact.
To hide an image per device, you must first switch to the editing mode for the device you want to hide an image on (desktop editing mode/ mobile editing mode).
You can do this via the options in the bottom right:

Then:
- Click the Image block
- Scroll to the Responsive Design section
- Toggle the switch next to the Hide on Desktop/ Hide on Mobile option