
Response Tracking and Anonymous Invitations
Email invitations track responses by default: each contact receives a unique link, so their response is linked to their Contact record. Campaign tracking also records opens and clicks and supports reminders and thank-you emails.
Send invitations anonymously
Section titled “Send invitations anonymously”- Open your form’s Send section and choose Email invitations.
- Open the invitation campaign and go to Subject.
- Under Anonymous send, turn on Send anonymously to disable tracking.
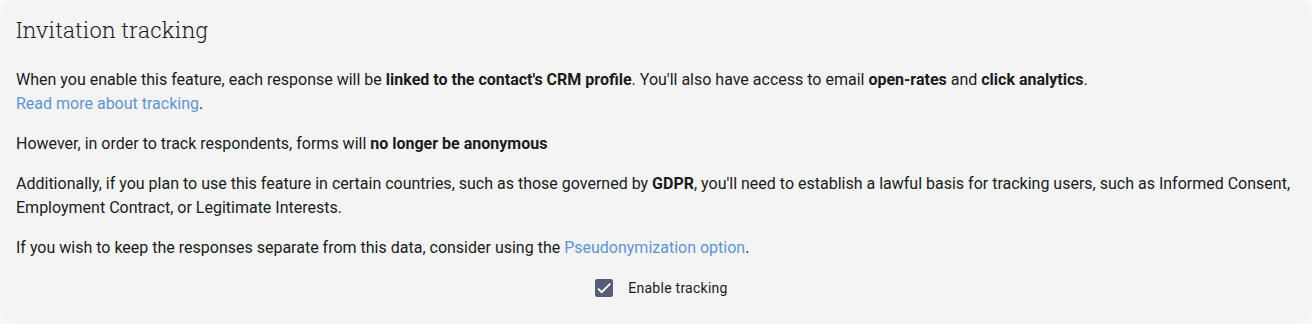
The screenshot shows Send anonymously off: tracking is enabled. The helper describes what happens when you turn the switch on. With it on, everyone receives the same public link: responses are not linked to contacts, opens and clicks are not recorded, and reminders and thank-you emails are unavailable for those recipients.
A form with a document to sign requires individual links, so Send anonymously is unavailable for that form.