
Automate your inbox with rules
Inbox rules let you respond to ticket events automatically. A rule can update the ticket in Shout, send an email, or send selected ticket data to a connected app.
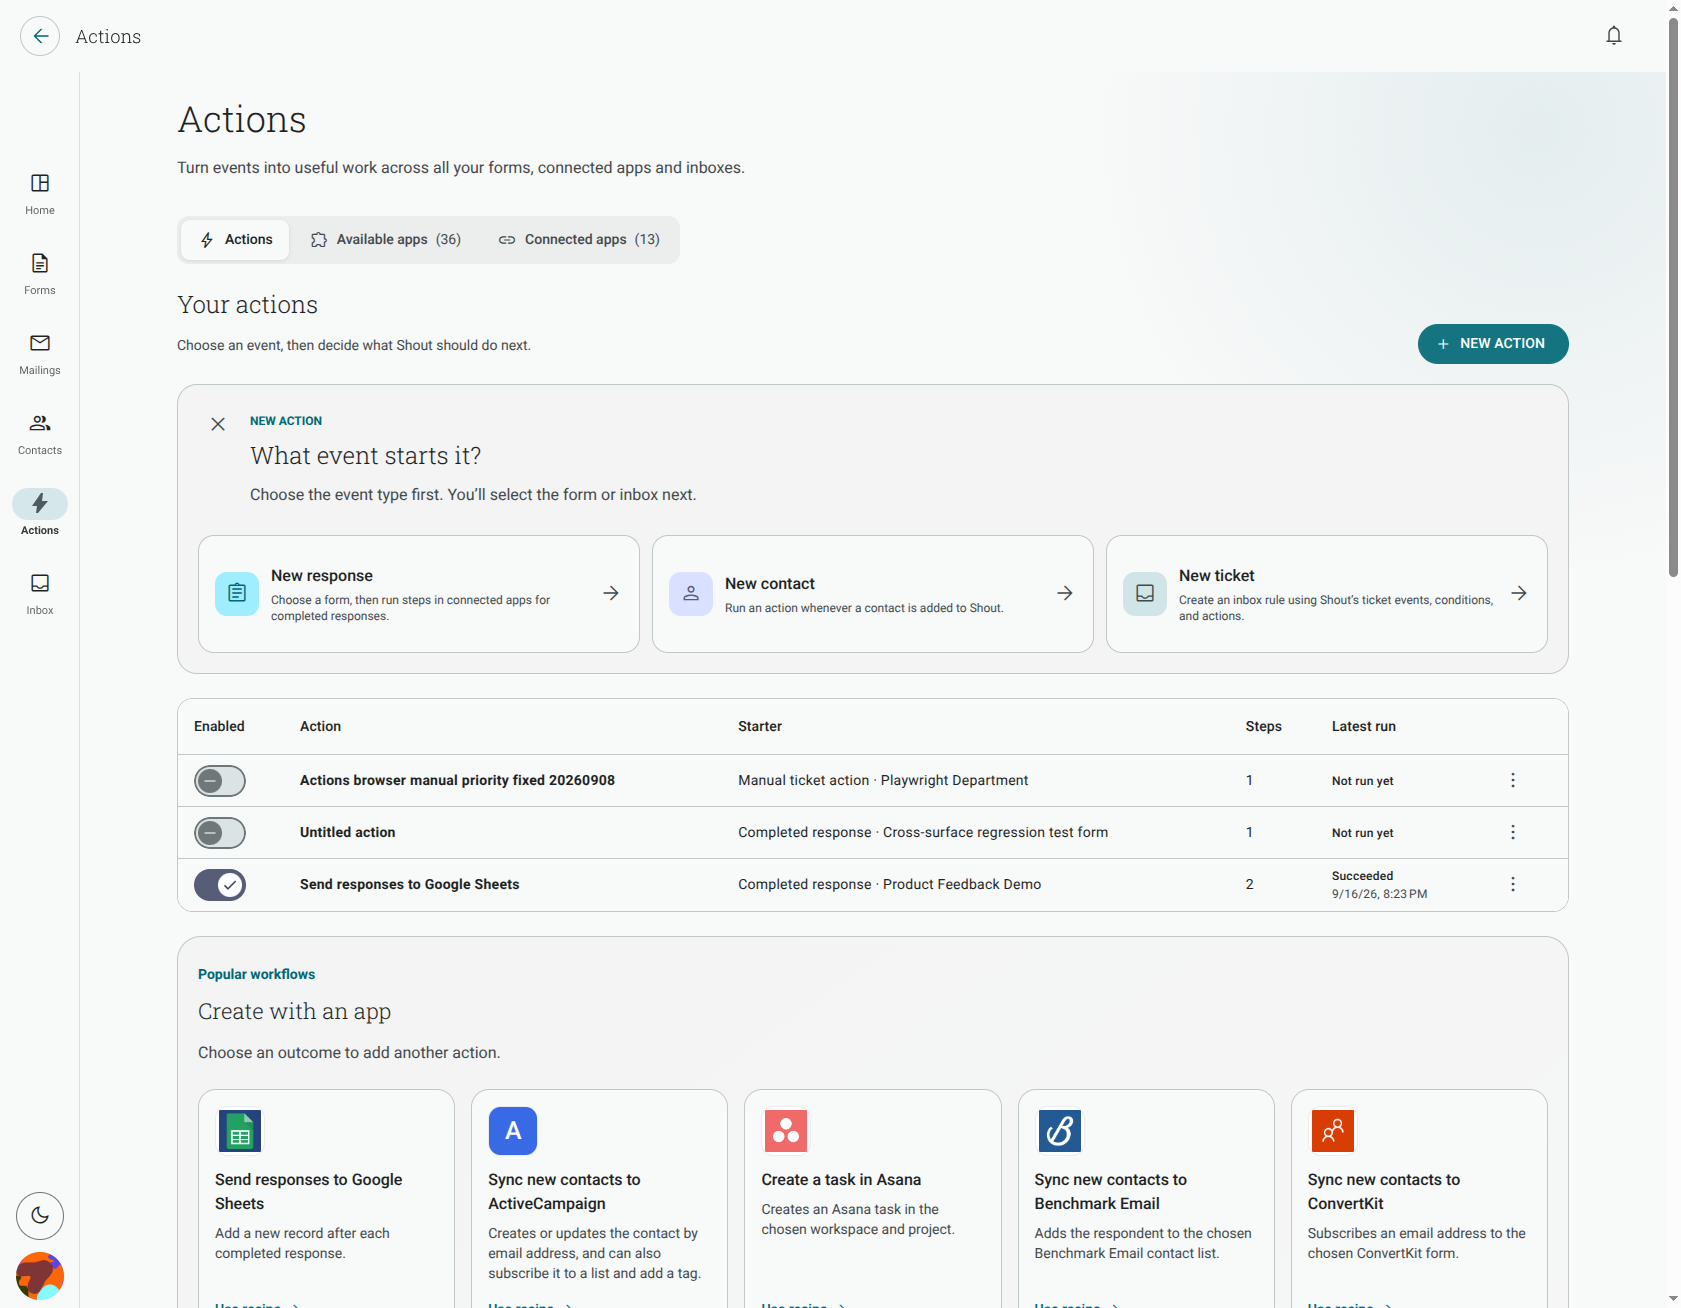
Where do I create an inbox rule?
Section titled “Where do I create an inbox rule?”- Open Inbox and choose the inbox you want to automate.
- Open the inbox settings and choose Rules (also shown as Automation Rules in some views).
- Click New rule or Add rule.
- Choose a ticket starter, add one or more steps, then save and enable the rule.
If the Actions page asks you to finish setting up the inbox, choose a workspace in that inbox’s settings first. Rules are tied to an inbox and cannot be created until the inbox has a workspace.
What can a rule do to a ticket?
Section titled “What can a rule do to a ticket?”Choose Update ticket from Add step to use the built-in ticket actions:
- Set status
- Set priority
- Assign to a teammate
- Add labels or Remove labels
- Add internal note
- Move to inbox
- Delete ticket
The available status, priority, teammates, labels and inboxes come from your workspace. A rule does not have a separate Reply action. To reply to the customer, add Send an email and choose the ticket as its recipient; the message is sent from the ticket’s inbox and keeps the ticket subject.
Can a ticket rule send information to another app?
Section titled “Can a ticket rule send information to another app?”Yes. After the ticket step, choose an app step from Add step and select the connected account and destination offered by that app. You can also use Send an email to notify a team inbox or named teammates. See connected apps and send an email for setup details.
Why can’t I create an inbox rule?
Section titled “Why can’t I create an inbox rule?”The inbox must have a workspace before Actions can be created for it. Open the inbox settings, choose the workspace, and return to Rules. You also need permission to manage Actions for that workspace.