
Send a PDF for signing
Upload your PDF
Section titled “Upload your PDF”- Open eSign and start sending a document.
- Choose a PDF or drop it into the upload area. You can select several files; they are joined in the order you choose them.
- Wait for Shout to read the document, then choose They fill in the document. If the guided form is suggested, select Use this instead.
- Select Next: Review.
PDF uploads support up to 25 MB and 50 pages. Password-protected PDFs, and PDFs containing scripts or attached files, cannot be signed.

Review fields and signing order
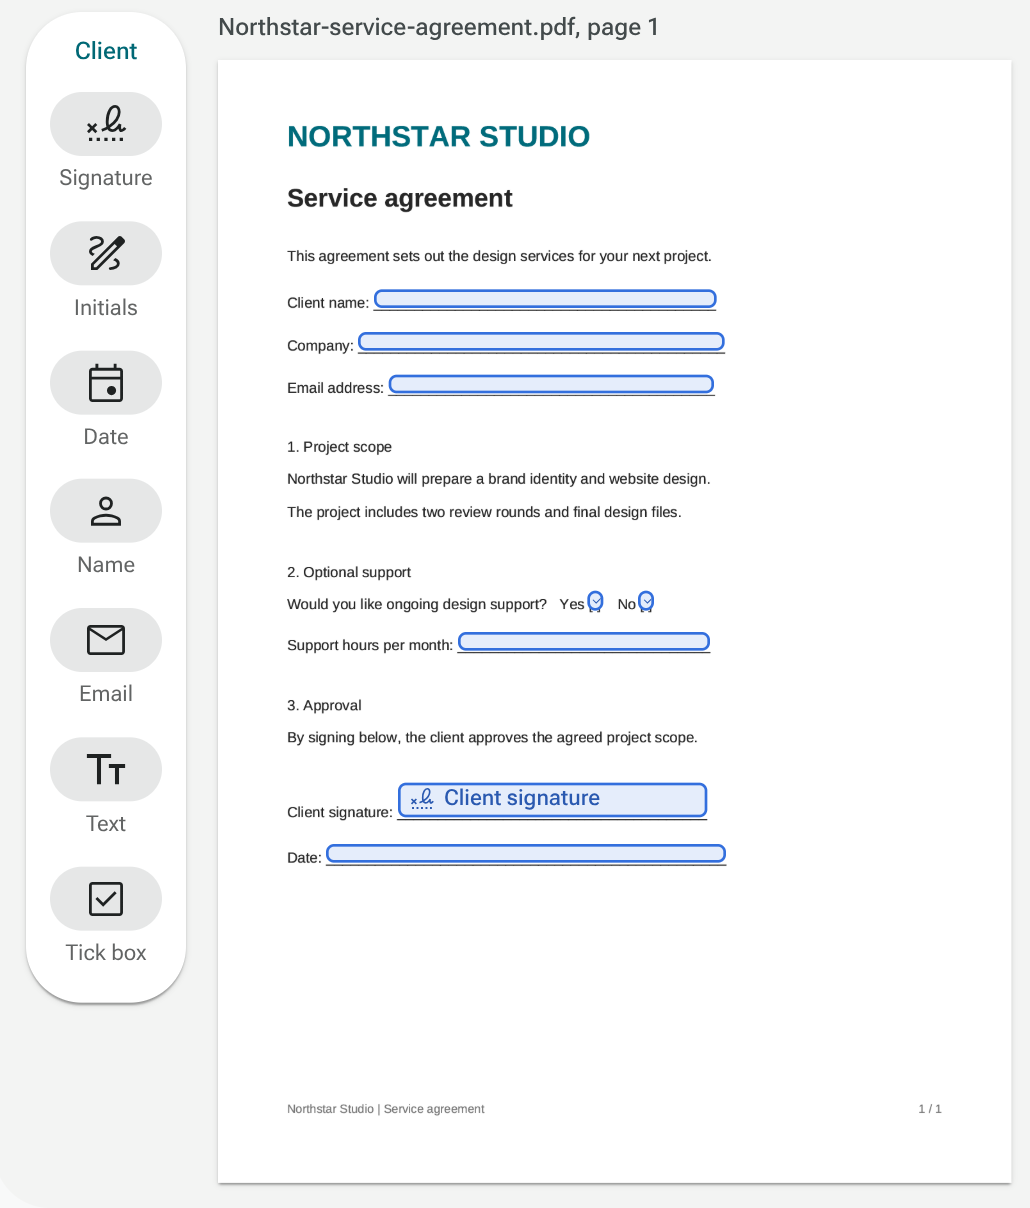
Section titled “Review fields and signing order”Check every page of the document. AI can help find signers and places to fill in, but you should correct anything it missed or assigned incorrectly. Scanned documents need particular care.
Check each field’s position, type and signer, and check the Signing order. The recipients sign in that order. Finish this review before entering recipient details.
Add recipients
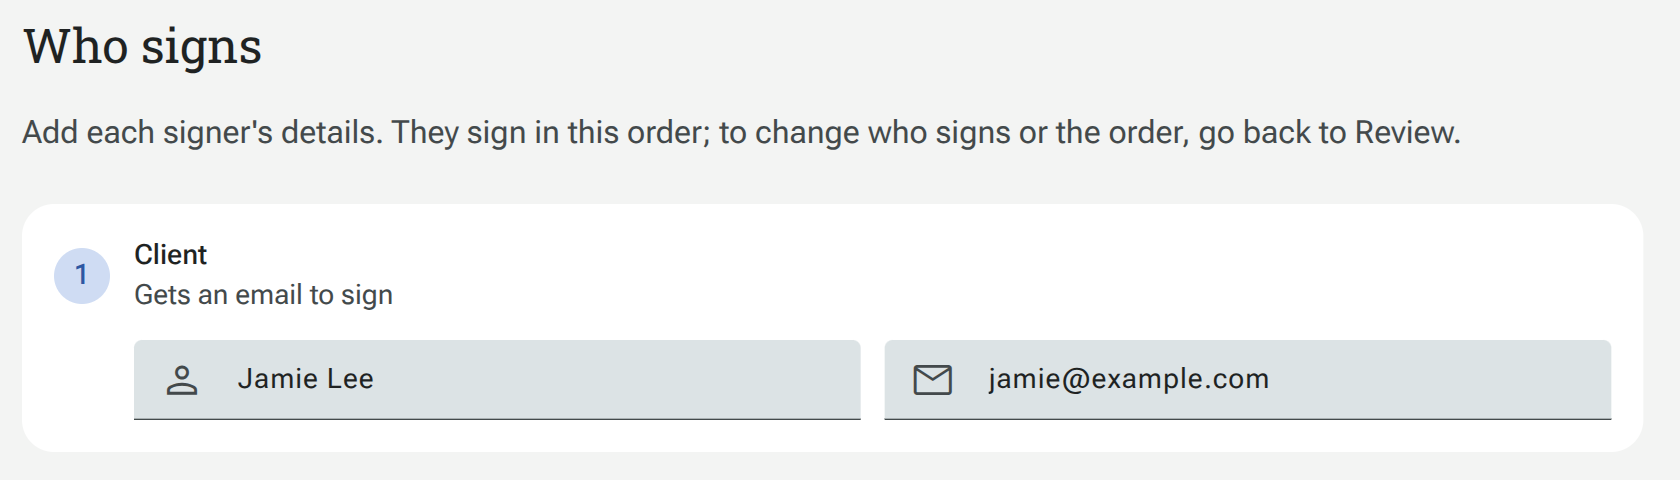
Section titled “Add recipients”In Who signs, enter the name and email address for each external signer. They receive an email invitation. For a signer from your team, choose the Team member who will sign in Shout.
To change who signs or the order, select Back to review. When the details are complete, select Next: Send.
Check and send
Section titled “Check and send”On the final step:
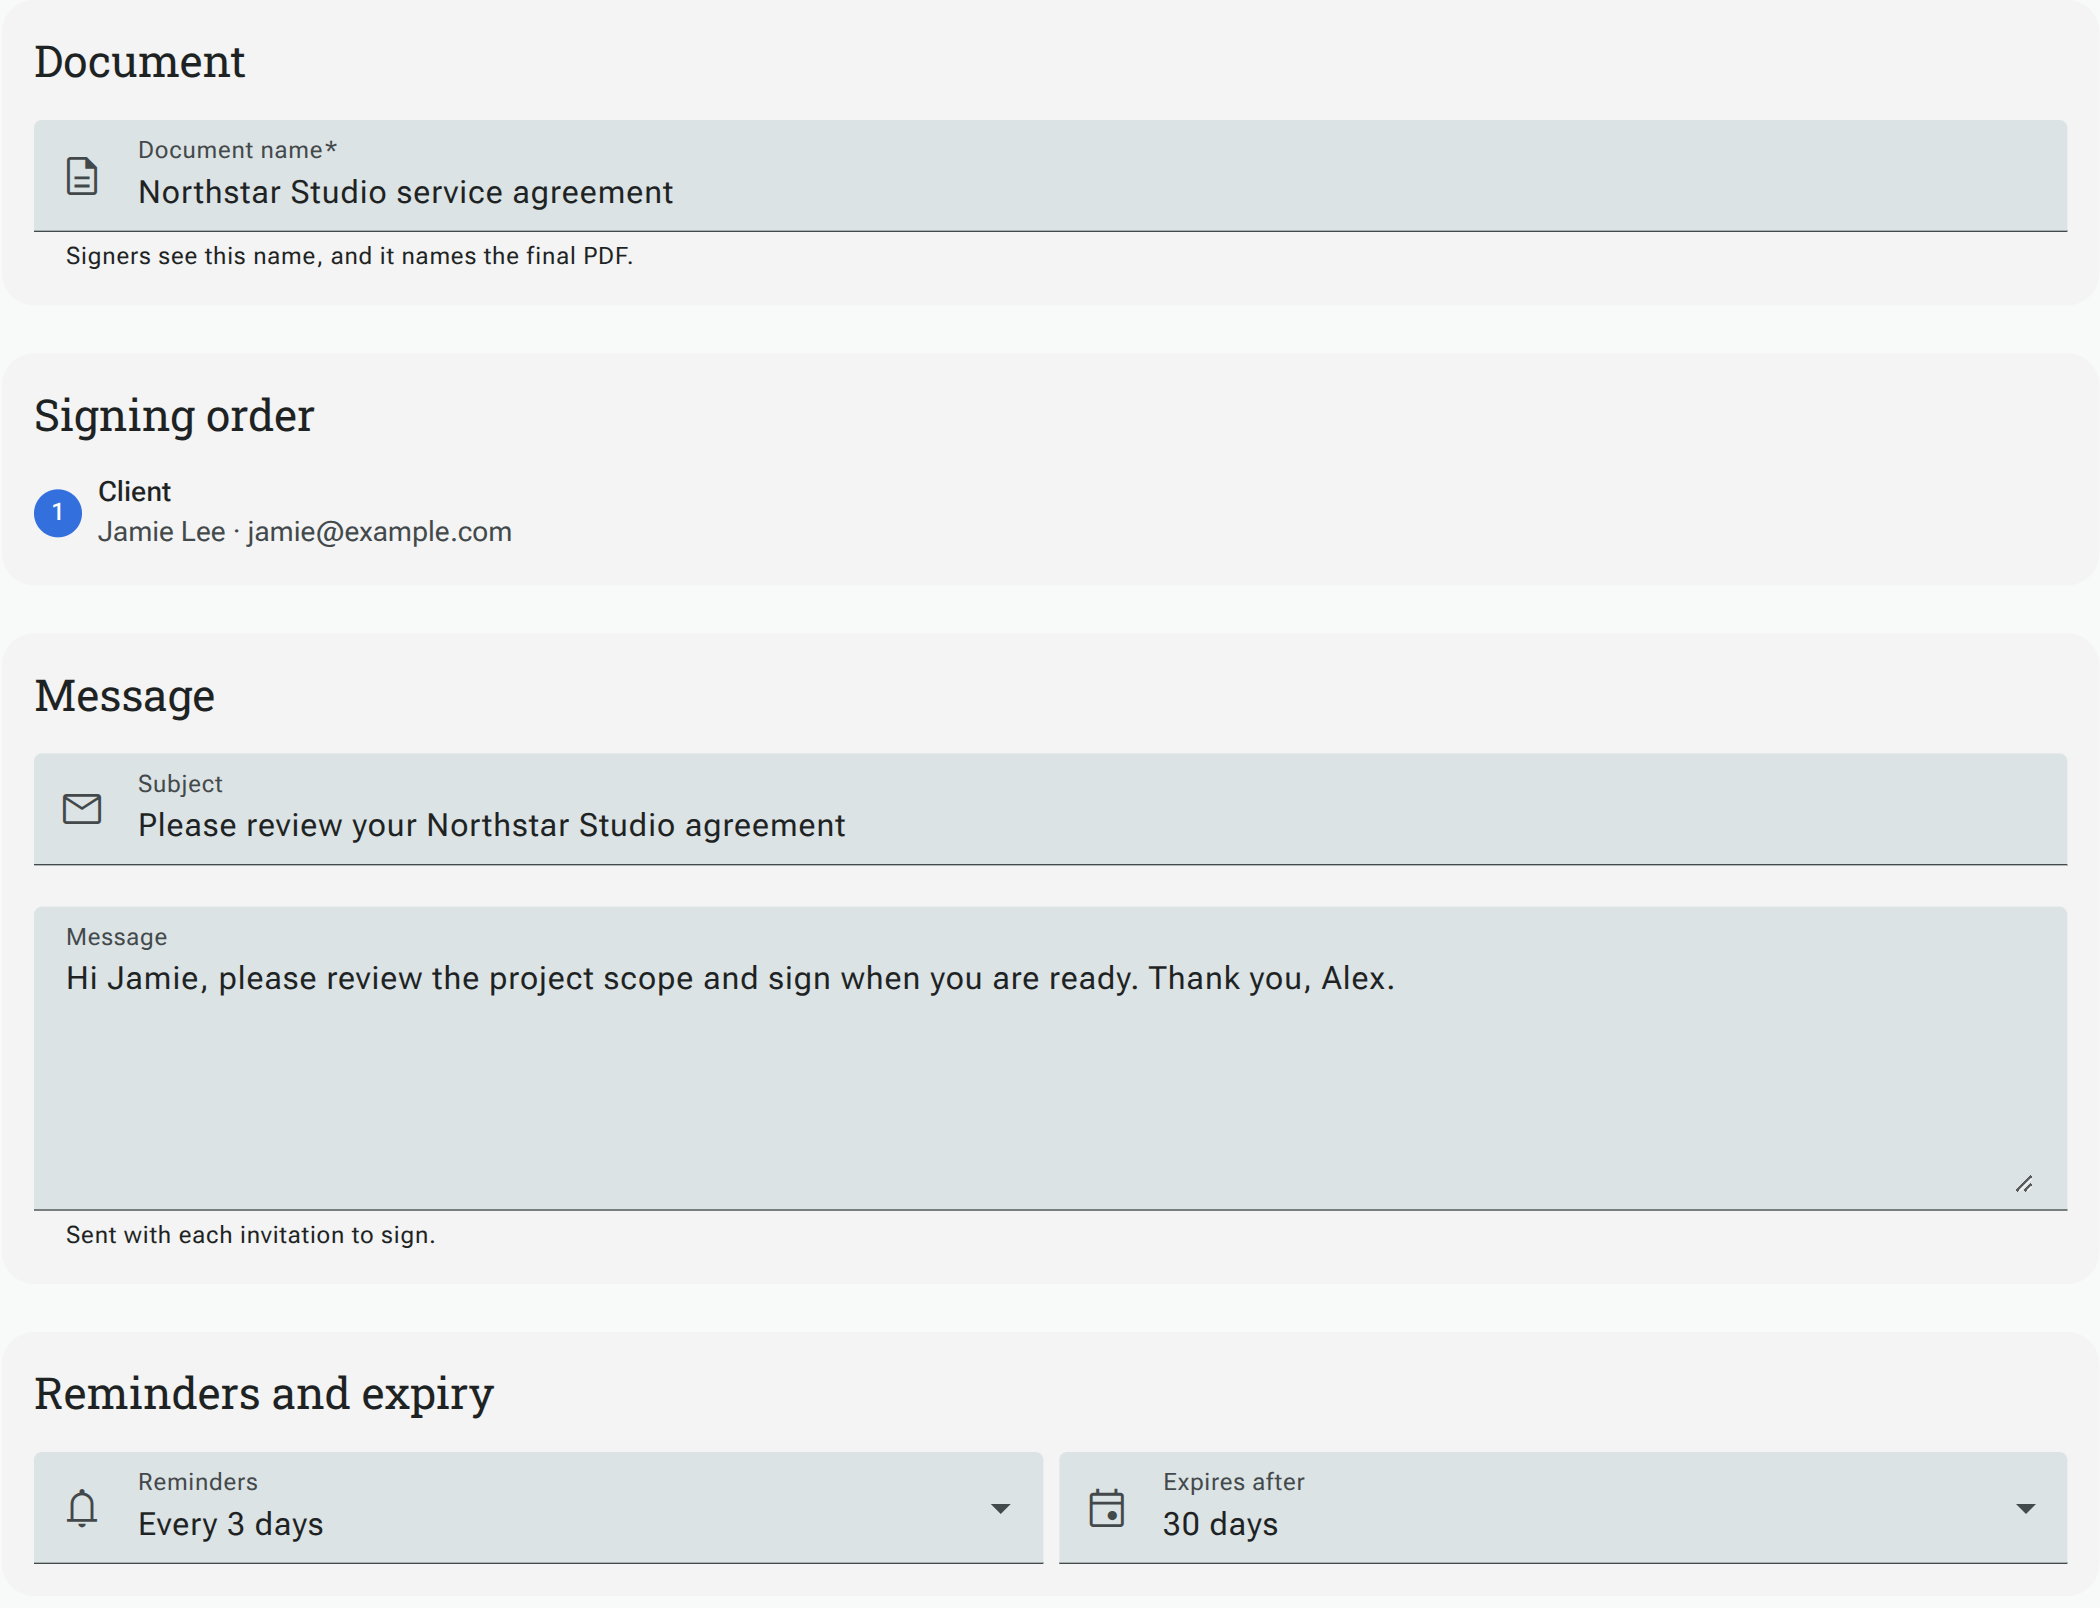
- Give the document a name. Signers see this name, and it names the completed PDF.
- Check the signing order and recipient details.
- Fill in any sender fields. These appear before anyone sees the document and cannot be changed by signers.
- Set the invitation subject and message.
- Choose reminders and when the request expires.
- Optionally select Keep this document to send again to save a template.
Select Send when everything is ready. Until you send it, the request is saved as a draft. Follow its progress in Documents.